


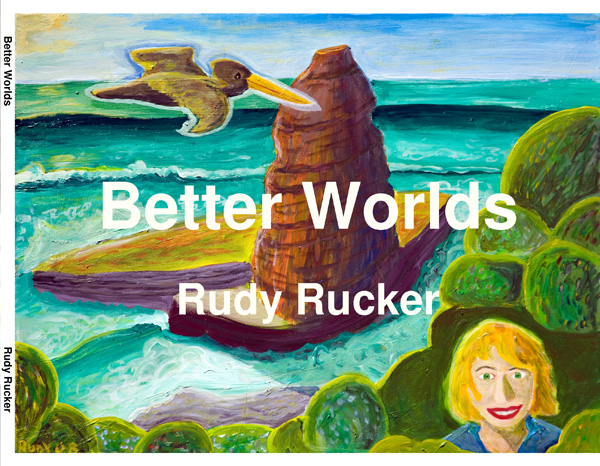
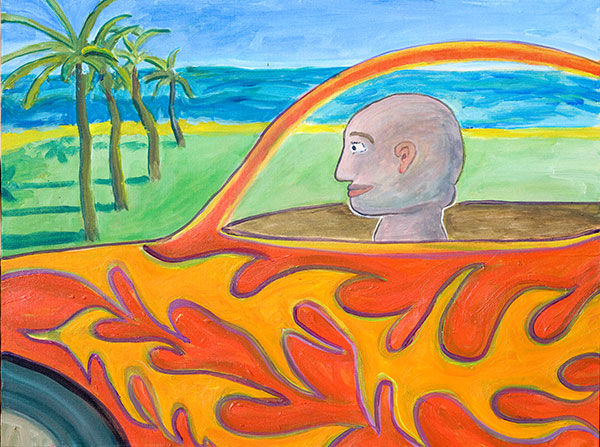
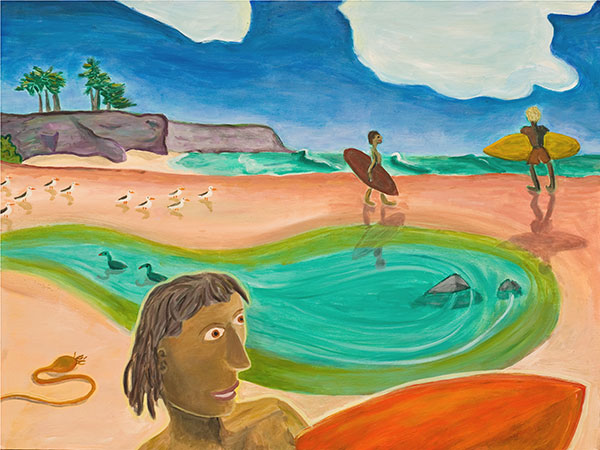
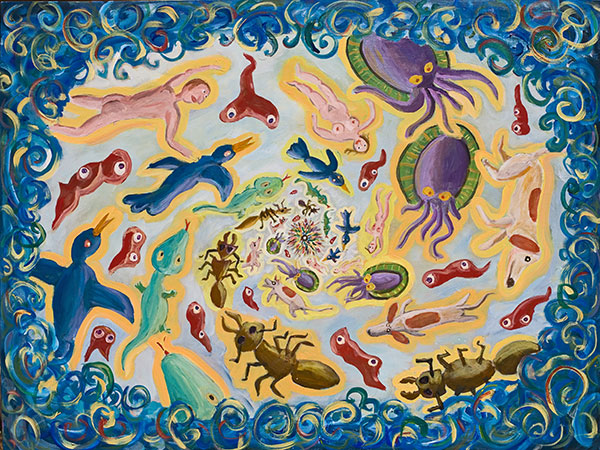
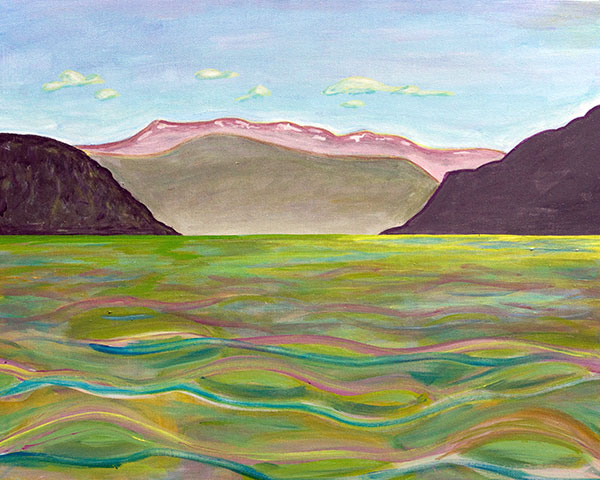
I’ve been busy making some photo-album books and a third edition of my art book, now with 62 full-size paintings for $29 from Lulu: Better Worlds. (I got my first copy of the new edition on February 12, and it looks great.)
As regular readers of Rudy’s Blog will know, I have an interest in creating art books and photobooks, whether for family gifts or for products that I can sell online as print-on-demand books. I posted about these and related topics before, on March 27, 2008, under the heading “POD and Ebooks.” Some of the links in the post and its comments are still useful.
In December, 2008, I designed the first edition of Better Worlds , with only 47 pictures. (As mentioned above, the new version has 62.) Now that I’m going through the process again, I thought it would be worthwhile to write up the steps so I can find them again. And maybe some of my readers might find this useful as well.
Geekage Alert!
I’m going to describe a procedure is for a Windows machine with Office 2007, Adobe Acrobat Pro, and two gigabytes of RAM. The basic process is to create a document that looks like your photobook, save it as a high-resolution Adobe PDF, and upload this PDF to a print-on-demand site. (In principle it seems like you could do essentially the same thing on a Mac, but my expertise is in Windows.)
Why don’t I just use Lulu’s online photobook design software or Blurb’s downloadable design software BookSmart? Well—I’m a computer hacker and I like to tweak. And I don’t like either the Lulu or the Blurb wares very well, as they default to cropping my pictures—and generally I have already cropped my pictures to be the way I want. (I know I can cancel the cropping, but that takes a lot of clicks.)
I also find the Lulu and Blurb software to be somewhat kludgy and hard to use—the response is sluggish and you have to repeat a lot of steps, and when you make a big book, these wares are highly prone to running out of RAM and freezing up. Also, I worry that these wares may in fact downsample my images to a lower resolution than I’d like.
And my guess is that the Mac iPhoto bookware also tends have these same two issues, that is, the issues of cropping your images and of downsampling images to overly low resolutions. Also the iPhoto books are much more expensive.
So I’m learning to do it myself with Word and Acrobat Pro. I actually own a copy of Adobe In Design, which is especially made for designing books, but so far I haven’t gotten it together to learn how to use it. It seems like I can what I want done pretty easily with Word.
The plan is to create an Adobe Acrobat PDF file of my book on my desktop machine and to upload this file to the Lulu or to the Blurb self-publishing sites.
Lulu has a tutorial about how to make a PDF.
And Blurb describes a similar process, although not quite as clearly. I’ll make a few remarks about how to work the Lulu and Blurb processes below
Create Your Document File
Put your JPG files into a directory. Create a Word document in this file. The shape of your pages needs to match the shape of a book that an online print-on-demand publisher uses. I have been using Lulu, where I can pick a book shape and download a template in the form of a .DOC file. You can open this template as if it were a document, and save it as the document for your book. The pages are shaped the right way for the book.
Blurb only supplies Adobe In Design templates for their book shapes—which mostly don’t happen to be the same shapes as Lulu’s. I’m not currently running In Design. But there’s a fairly easy workaround for using Word. I just load a Lulu template for a document that is approximately the same shape (for whatever reason the two companies have non-identical lists of book sizes), and then I use the Page Layout|Page Setup dialog in Word to set the page size to match the targeted Blurb book page size. I can double check these sizes on a Blurb page that lists the desired page sizes and margins, but if I’m just using the margin settings from a comparable Lulu template, that’s close enough.
Insert Your Pictures
So let’s suppose that one way or another you’ve opened a Word file with the page layout matching a targeted print book size. Use Insert|Picture dialog. It’s easiest just to insert all your pictures at once. Navigate to the directory with your pictures and make sure they’re in an order you like. If you right click in the file list you get a context menu where you can choose Arrange Icons By to get a choice or automatic orderings. Do that.
Then select all of the pictures for your album at once. Use Insert|Link to File to put them all into the document . This is important. You need to use the Insert|Link to File option rather than the plain Insert option because otherwise your document will get too large for Word to handle it. If you use Insert|Link to File option, the doc is small, and the pictures “live” outside it.
Arrange Your Pictures
Go to Word|Word Options|Display|Always show these formatting marks on the screen and turn on the check mark by Paragraph marks. Now make sure there is a paragraph break ¶ after each photo. Until you do this, you will have difficulty getting more than one photo per page.
Now select the whole file with the Ctrl+A key combination, and use Home|Paragraph|Centered if you want to center all the images. I recently made a book in a standard kind of paper shape, that is 8 inches across and 11 inches high, and I mostly put two pictures on a page, one above the other, so it was natural to center them.
You can resize the images by dragging their corners. Note—and this is the good news—that their aspect ratios are preserved. They’re not cropped. And they’ll flow together, squeezing onto the same pages if there’s room. If they are small, you can have two on one line. Insert spaces to put room between them. Or have one above the other, usually with an extra paragraph break in between for spacing.
Set-up for Printing to Adobe PDF
Now to save as a PDF. If you have downloaded the 2007 Microsoft Office Save As PDF Add-in, you have the option File|Save As PDF. Generally you don’t want to use this, as it will save your images at a very low resolution, something on the order of 72 pixels per inch, which isn’t suitable for printing.
Instead you have to use the Word Print dialog and set the printer to be Adobe PDF. In order for this Print option to be there, I believe that you need to have Adobe Acrobat Pro installed on your machine. Adobe Acrobat Pro is, I’m sorry to tell you, a product that you need to buy, it’s not free like the Adobe Reader.
If you’re still with me, you now have to change the Properties of the Adobe PDF print.
The easiest way to to this is to get a Adobe PDF “joboptions” file from Lulu or from Blurb. Here is a Lulu link that shows you a text page that you save as a text file called Lulu.joboptions. And here is a link to a Blurb page that has a button for downloading a zipped version of their Blurb PDF X-3 Export Preset v1-1.joboptions file.
How do you use a joboptions file? Basically it’s just a bunch of dialog settings. You can click on a joboptoins file to see what’s inside it. To use one, you place it in your local directory that holds application data for Adobe. On my machine this is:
C:\Documents and Settings\user\Application Data\Adobe\Adobe PDF\Settings
Okay…now to apply the settings to your print job.
On the Word Print menu, you select Adobe PDF as your printer, and then go into Properties|Adobe PDF Settings . If you’re using a joboptions file, go to the Default Settings list box and scroll to find a joboptions name like Lulu or like Blurb PDF X-3 Export Preset v1-1.
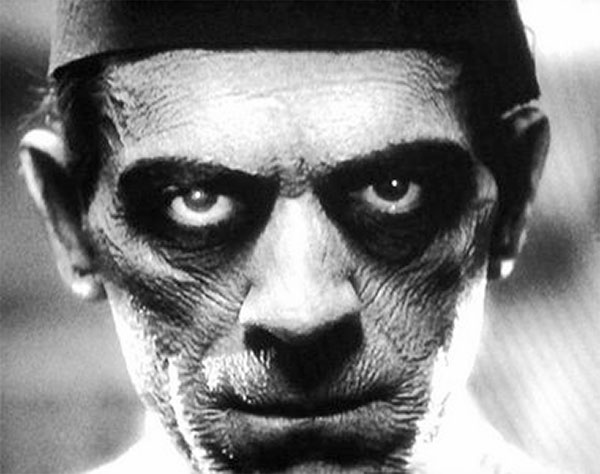
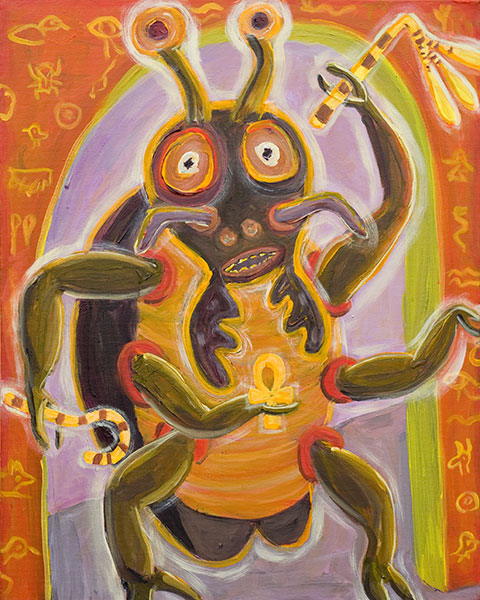
Ack! Too much geekage. Quick…need art…

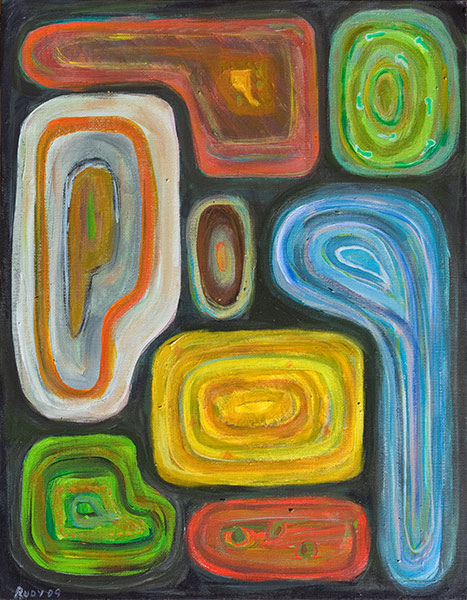
The sixty or so pictures in the new edition of BETTER WORLDS!
Now…back to the Adobe PDF Properties Adobe PDF Setting dialog…sigh.
If you don’t use a joboptions file, you can edit the settings yourself, using the Edit dialog. Once you have edited the settings, you can Save them under a new name that you choose. So really you would only need to do these tweaks once. But, again, it’s smarter just to get hold of a joboptions file from your intended publisher.
There are a few specific things that the joboptions settings do…and these are things you’d do yourself if you wanted to.
(1) You want to make sure you’re using a high pixel count, but not so high that your PDF gets too unwieldy. Select the Edit|Images option, you can make sure that your Color Images are printed to the PDF at 300 pixels per inch. Note that you set two numbers, the targeted size, and the size above which the image is downsampled to be the target size. You can set both of these to 300.
(2) Most printers require that you embed your fonts. So—if you are using fonts—go to Properties|Adobe PDF Settings|Edit|Fonts and make sure that Embed All Fonts is checked.
(3) Color is an issue, and there are numerous ways to tweak the settings. I won’t go into this here, as I’m kind of ignorant on the topic, which is why I like using the joboptions files. The Blurb site explains a little about color for printing.
Print to Adobe PDF
Before invoking the Print, do check one thing. Make sure that the PDF file is going to be “printed” at the same page size as the page sizes of your intended book. If you used a Lulu template to build your document, this will happen automatically, but if you manually set the page size in your document, you’ll need to set the Adobe PDF Page Size.
This setting is on the Print dialog in the Adobe PDF Properties dialog page in the Adobe PDF Page Size list-box. If you don’t see the page size you want, use the Add… button to create a custom page size and give it a name.
Okay, now close every application except Word and start to print.
The printing-to-Adobe-PDF process takes a long time, like maybe an hour, and uses a lot of RAM. Close all your other applications before you start it. And don’t use your computer for the time that the printing takes. First you see a dialog saying pages are being processed, and then for quite a while nothing seems to be happening but Adobe Distiller is invisibly at work. When it’s done an Acrobat window will pop up showing your file. Leave the computer alone until the printing is really done or you’ll lock it up and probably have to start over!
Depending on whether you went for 200, 300, or 400 pixels per inch, and on how many pictures you have, the resulting PDF will be a hundred megabytes or maybe a gigabyte, or more. At 300 dpi, an eighty page book might be about two hundred megabytes.
Upload your PDF
To upload a PDF this big you have to use their ftp. Both Lulu and Blurb have pages explainging how to do this. You can download the free ftp client software Filezilla for doing this. Uploading your PDF can take an hour or several hours, depending on the file size. While this is happening, you can’t effectively do email or web surfing very well, as your internet link is full of bytes. It’s better to leave the machine and go do something else until the process done.
In Lulu the file ends up in a location called My Files, and then you can add it to a project—Lulu has fairly good Help online. Or you click around and eventually figure it out. I think on Blurb the process is similarly transparent.
One final caution here. Often you’ll decide that you want to upload a revised version of your image-file PDF. Always give the new file a new name, like by putting “ver2” at the end. If you upload a file with the same name twice, the publisher’s database is likely to get confused and you won’t be able to use the file.
February 9th, 2010 at 3:57 pm
I have used a company called Print-ibles for my projects. You can either use their free software to make photo books and posters ect. but you can use pdf files. For that matter they have a service available that allows you to use almost any kind of image file out there. They provide an FTP server for uploading large files plus there is another nifty page where you can drag and drop your files of up 600 MB for a fast and easy upload. Quality is excellent as is the service. when I have phoned I got thourgh to a real person who seemed very willing to help. I highly recommend them.
February 9th, 2010 at 6:13 pm
Marc, I’m guessing that you work for Print-ibles. I don’t want my blog be used for self-serving comments that are akin to ads.
I took the time to check, and Print-ibles prices seem overly high. According to my calculations,
Lulu charges under $30 for a 104 page book in a 7 x 9 inch landscape format.
Print-ibles charges $195 for a 104 page book in a slightly larger 8 x 10 landscape format.
In a follow-up email you say that Print-ibles has an 8×10 104 page portrait format book for only $75. Even if that’s true, it’s still double what Lulu charges. (I found it a little hard to do the calculation as the Print-ible site is a little unclear about whether they count the two sides of a sheet as two pages or one—the very fact that it’s hard to do the calculation is kind of a bad sign.)
But I don’t question the right of Print-ibles to exist. I’m sure they have good personal service for locals in the Miami area who can come in to talk with them. So for certain customers, they’re a fine place. But what they offer is not a good fit for my needs—what I’m into is: preparing the whole book on my own as a PDF, getting a good price on quality bookprinting, and being able to sell the book online.
February 9th, 2010 at 8:07 pm
Digital maven Kevin Kelly has a very useful post on personal bookmaking. Although the post is four years old, it seems as if the info is still good.
http://www.kk.org/cooltools/archives/001520.php
In a follow-up email to me, Kevin adds, “I’ve made about 12 or 13 Blurb books and 3 or 4 Lulu books. The Blurb photo books are better, but I don’t know why because I suspect they use the same technology. I do know Blurb books are a lot cheaper, so I continue to use them for photos and Lulu for text (Lulu is cheaper for text). Blurb now makes it pretty easy to import PDF files so you can use InDesign and get off their Booksmart software. If you have a chance try Blurb’s oversize coffeetable size. Its really awesome.”
At some point in the next few months, I plan to try ordering the same book from Blurb as well as from Lulu so I can accurately compare the costs, shipping times, and how good the pictures look.
February 10th, 2010 at 5:58 am
For book layout, the ideas of Jan Tschichold
are hard to beat.
His “Van de Graaf canon” should appeal to the Mathematician in you.
http://en.wikipedia.org/wiki/Canons_of_page_construction
March 10th, 2010 at 11:54 pm
Comparing Lulu and Blurb, I recently did a fresh revision of my BETTER WORLDS art book, and ordered copies from Lulu and from Blurb. I list the price breakdown below. Bottom line: Lulu is cheaper. I haven’t yet seen the Blurb book, but will add a note about the image quality later on. Note that the Blurb book pages have about 30% greater area, so it’s not unreasonable that their book price is about 30% more.
On BLURB, standard landscape shape, paperback 10 inches by 8 inches,
which is 80 sq. inches per page.
My book came to 92 pages..
Book: $30 (or $35 with premium paper)
Tax: $3.30 (or $3.90)
Shipping: $7
Total: $40.30 (or $45.90 with premium paper)
On LULU, standard landscape shape, paperback 9 inches by 7 inches,
which is 63 sq. inches per page.
My book came to 94 pages.
Book: $23.30
Tax: None
Shipping: $4
Total: $27.30
March 11th, 2010 at 10:24 am
Hey great article.
thanks for sharing.
I have a question about the softcover quality.
do you have any experience with this?
I really want to do a 8.5″ sq saddle stitch as a small promo
I don’t want it to feel like a book, I want it more soft and personal
but the images I will be using are high quality color images and I don’t want then to look
like garbage…
I can not find any examples on lulu’s site or other where you can get a sense of what this looks like so I am looking for opinions from those who have used their services…
any thoughts?
thanks
April 30th, 2010 at 11:19 am
Hi Rudy,
I’m considering Lulu to publish a small 6×9 in. color book of my paintings, 24-36 pages. It says saddle-stitched has 100# cover stock with 80# matte white text stock. – Were you satisfied with the paper quality from Lulu?
April 30th, 2010 at 2:31 pm
Chewy, the Lulu paper quality is fine. On Blurb you have an option for slightly heavier paper which is perhaps a bit nicer. I can’t remember if Lulu has this option. But, really the Lulu books on the standard paper look quite professional.
Go ahead and order one and see how it looks. Inevitably you’ll find something you want to change, so it’s best at first to get one printed at a time before ordering a larger run.
May 1st, 2010 at 11:31 am
Thanks for replying to me, Rudy. I will get myself one copy first, before I order several.
November 28th, 2010 at 12:54 am
Great article Rudy,
thank you for sharing; just one think: You need Acrobat distiller to save a .joboptions file, isn’ it?
Your illustrations are so beautiful, express joy for life.
Thanks again
November 28th, 2010 at 7:52 am
Roberto, if you install Acrobat Pro on your machine (this is the product you have to buy, as opposed to the free Acrobat Reader), you will automatically be installing Distiller on the machine as well. I’m not 100% sure, but I don’t think the methods I describe here will work unless you have Acrobat Pro.
April 1st, 2011 at 2:24 pm
Hey Rudy,
I recently did my third project on Lulu, a 200 page B & W memoir in the trade paperback (6″ X 9″) format w/ about 45 photos, many of which were old. Anyway, I’m a pretty high-skilled user of WORD, but find it runs out of gas for fine controls. I own an old version of InDesign but didn’t want to face the learning curve or the hassle of running Adobe’s gauntlet in transferring it to my newer computer. Anyway, I found an authoring package SerifPro. It lists for under $100. And with their deal of the day, I got it for substantially less. It is page-oriented like InDesign (or Publisher for that matter.) I found it easy enough to learn. I was flummoxed by “optical justification” defaulting to “on,” which causes punctuation to escape the fully justified margin, but figured that out and again was impressed with the fine controls.
Also, for your saddle-stitched poster, I have a 44 page color project which Lulu does for me in the “crown quarto” format. It is for my rental tenants and is nice enough. The paper is coated but not “glossy.” The colors are a bit saturated. Most of my photos are of “snapshot” quality so this isn’t a good reference point for a photo or album book.
In most cases, I find learning up on these options is a great first start, but nothing beats ordering a book and seeing first hand.
Nice blog, lively art. Best wishes.
John
October 20th, 2011 at 5:44 pm
Outstanding! I can enhance more the quality of the photos that I have taken trough this article. I will install that software on my computer.
January 2nd, 2013 at 4:37 am
Hi this is kinda of off topic but I was wanting to know if blogs use WYSIWYG editors or if you have to manually code with
HTML. I’m starting a blog soon but have no coding expertise so I wanted to get advice from someone with experience. Any help would be enormously appreciated!